# Flutter

<figure><img src="/files/U6sDn6w4dwsmJjHU9976" alt=""><figcaption></figcaption></figure>

***

Flutter 가이드 문서는 아래 2가지 라이브러리를 필수로 사용합니다.

* WebView 패키지 (v6) : <mark style="color:blue;">`flutter_inappwebview`</mark>
  * v5를 사용하고 계신 클라이언트는 [<mark style="color:orange;">\[Migration Guide\]</mark>](https://inappwebview.dev/docs/migration-guide/) 링크를 참고하여 마이그레이션을 권장드립니다.
* 화면 활성화 여부 판단 패키지 : <mark style="color:blue;">`visibility_detector`</mark>
  * 런처 화면이 백그라운드 모드로 전환될 때 WebView의 <mark style="color:blue;">`pause`</mark> , <mark style="color:blue;">`resume`</mark> 상태 등을 체크하기 위해  필요합니다.

```yaml
// pubspec.yaml
dependencies:
  flutter:
    sdk: flutter

  # The following adds the Cupertino Icons font to your application.
  # Use with the CupertinoIcons class for iOS style icons.
  flutter_inappwebview: ^6.0.0
  visibility_detector: ^0.4.0+2
```

***

## 1단계: 런처 위젯 추가

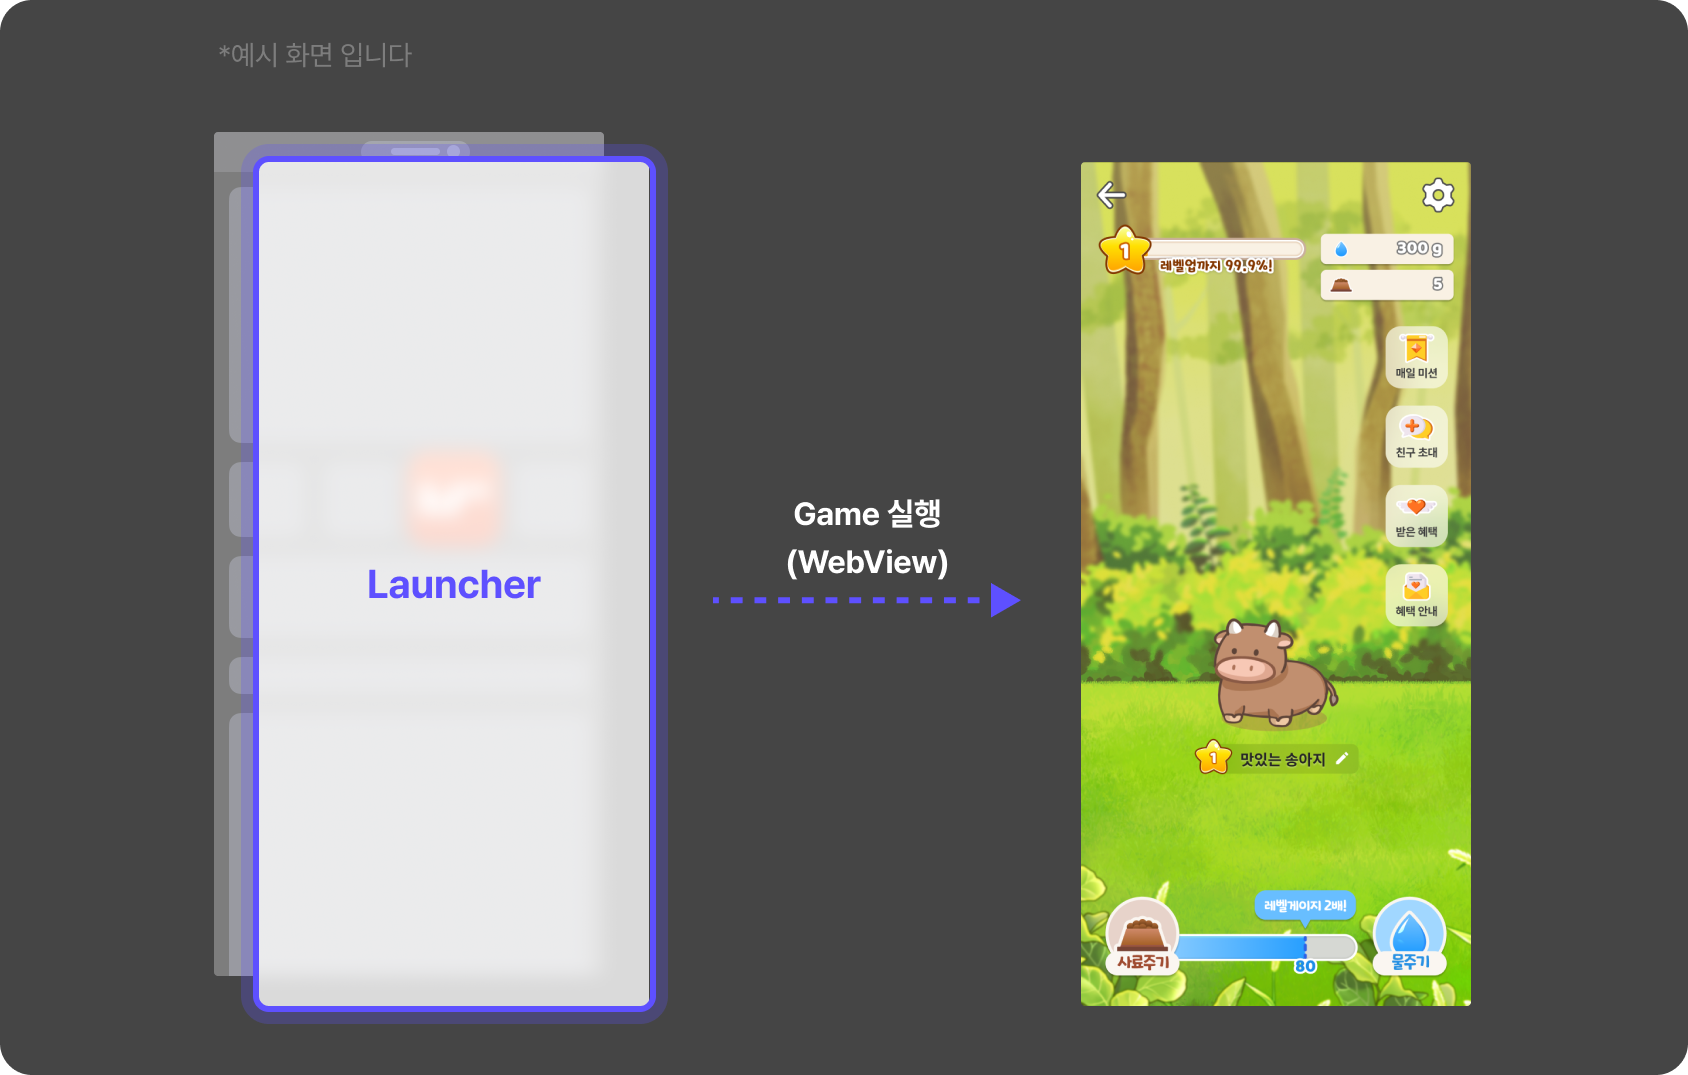
인앱 게임을 런처에 구동하기 위해서는 WebView를 사용하는 위젯을 생성해야 합니다. 다음 가이드를 따라 진행해주시기 바랍니다.

### 1. dart 파일 생성

기본적으로 <mark style="color:blue;">`lib`</mark> 폴더 경로에 런처가 구동될 <mark style="color:blue;">`dart`</mark> 파일을 생성합니다.\
가이드에서는 <mark style="color:blue;">`screens`</mark> 폴더를 생성 후 <mark style="color:blue;">`bleepy_screen.dart`</mark> 파일을 생성하였습니다.

### 2. Navigator 추가

런처 페이지 위젯으로 이동하기 위한 router를 추가합니다.

### 3. InAppWebViewSettings 옵션 추가

WebView에 사용될 옵션 값을 정의합니다.

### 4. WebView에 런처 URL 로드

위젯 페이지 내 <mark style="color:blue;">`InAppWebView`</mark> 를 추가하고 <mark style="color:blue;">`런처 호출 URL`</mark>을 요청합니다.

```dart
// lib/screens/bleepy_screen.dart
class _BleepyLauncherScreenState extends State<BleepyLauncherScreen> {
  InAppWebViewController? webViewController;

  @override
  Widget build(BuildContext context) {
    final GlobalKey webViewKey = GlobalKey();

    // WebView 옵션
    InAppWebViewSettings options = InAppWebViewSettings(
      ...
      javaScriptEnabled: true, // javascript 실행 여부
      useHybridComposition: true, // hybrid 사용을 위한 android 웹뷰 최적화
      clearCache: true,
      ...
    );

    return InAppWebView(
      key: webViewKey,
      initialUrlRequest:
      URLRequest(url: WebUri({런처 URL})),
      initialSettings: options,
      onWebViewCreated: (controller) {
        webViewController = controller;
      }
    )
  }
}
```

***

## 2단계: 위젯 백그라운드 처리 추가

WebView 내에 런처를 실행하면 자바스크립트 로직이 핑 전송 API를 주기적으로 호출합니다. 따라서 위젯이 백그라운드 모드로 이동되면 <mark style="color:blue;">`inactive`</mark> 상태로 처리되어야 정상입니다. \
그러나 런처 위젯에서 다른 위젯으로 <mark style="color:blue;">`Navigator`</mark> 를 통한 라우팅 시 플랫폼에 따라 예외적인 케이스가 존재합니다.

<mark style="color:blue;">`AOS`</mark>의 경우 라우팅 시 <mark style="color:blue;">`inactive`</mark> 상태로 변경되지 않는 이슈가 있어 직접 컨트롤이 필요합니다. \
다음 가이드를 따라 코드를 추가해 주세요.

### 1. LiftCycle 감지 설정 추가

위젯의 LifeCycle 감지를 위해 <mark style="color:blue;">`WidgetsBindingObserver`</mark> 를 사용합니다.

* <mark style="color:blue;">`initState`</mark> 에서 <mark style="color:blue;">`addObserver`</mark> 를 호출
* <mark style="color:blue;">`dispose`</mark> 에서 <mark style="color:blue;">`removeObserver`</mark> 를 호출

해당 과정은 <mark style="color:blue;">`VisibilityDetector`</mark> 라이브러리의 정상 동작을 위해 선행되어야 합니다.

```dart
// lib/screens/bleepy_screen.dart
class _BleepyLauncherScreenState extends State<BleepyLauncherScreen> 
  with WidgetsBindingObserver{
  ...

  @override
  void initState() {
    super.initState();
    // 최초 위젯 실행 시 호출
    WidgetsBinding.instance.addObserver(this);
  }

  @override
  void dispose() {
    // 위젯이 메모리에서 제거될 때 호출 
    WidgetsBinding.instance.removeObserver(this);
    super.dispose();
  }
  
  ...
}
```

### 2. VisibilityDetector 라이브러리 추가

<mark style="color:blue;">`VisibilityDetector`</mark> 라이브러리를 통해 현재 화면의 활성화 여부 판단이 필요합니다.\
화면의 활성화/비활성화 여부에 따라 WebView에 아래와 같은 처리가 필요합니다.

* 화면 비활성화 시
  * WebView <mark style="color:blue;">`pause`</mark>
* 화면 활성화 시
  * WebView <mark style="color:blue;">`resume`</mark>

<mark style="color:blue;">`VisibilityDetector`</mark> 라이브러리는 아래 옵션 표를 참고합니다.

<table><thead><tr><th width="243">Interface function</th><th width="242">Type</th><th>Description</th></tr></thead><tbody><tr><td><mark style="color:orange;"><code>key</code></mark></td><td>key</td><td>필수 입력 값</td></tr><tr><td><mark style="color:orange;"><code>onVisibilityChanged</code></mark></td><td>void Function(VisibilityInfo)</td><td><p>visibilityInfo 내 visibleFraction으로 활성화 여부 판단</p><ul><li><p><mark style="color:blue;"><code>double</code></mark> 형</p><ul><li><mark style="color:blue;"><code>1.0</code></mark> - 활성화</li><li><mark style="color:blue;"><code>0.0</code></mark> - 비활성화</li></ul></li></ul></td></tr></tbody></table>

```dart
// lib/screens/bleepy_screen.dart
@override
Widget build(BuildContext context) {
  ...

  // VisibilityDetector 추가
  return VisibilityDetector(
    key: const Key("banner-screen-visibility-detector"),
    onVisibilityChanged: (visibilityInfo) {
      // visibility change event
      var visibleFlag = visibilityInfo.visibleFraction.toInt();

      if(visibleFlag == 1){
        // 화면 보여질 때 실행
        webViewController?.resume();
      } else {
        // 화면 안 보여질 때 실행
        webViewController?.pause();
      }
    },
    child: SafeArea(...)
  );
}
```

***

## 3단계: Javascript Handler 추가

런처와 Flutter간의 통신을 수행하기 위해 <mark style="color:blue;">`Javascript Handler`</mark> 추가가 필요합니다. \
자바스크립트 핸들러 작성 시 handlerName 값은 <mark style="color:blue;">`BlpLauncher`</mark> 로 작성해야 합니다.\
다음은 런처에서 전달하는 이벤트 케이스 입니다.

* handlerName: <mark style="color:blue;">`BlpLauncher`</mark>

| Type                                                      | Description                       |
| --------------------------------------------------------- | --------------------------------- |
| <mark style="color:orange;">`closeLauncher`</mark>        | 블리피 런처의 Back 버튼 UI 클릭 시 (뒤로가기 처리) |
| <mark style="color:orange;">`launcherLoaded`</mark>       | 블리피 런처 로드가 완료된 시점에 호출             |
| <mark style="color:orange;">`timerMissionComplete`</mark> | 타이머 미션이 완료 되었을 때 호출               |
| <mark style="color:orange;">`giftReceived`</mark>         | 육성완료 시 호출                         |

```dart
// lib/screens/bleepy_screen.dart
InAppWebView(
  key: webViewKey,
  initialUrlRequest:
  URLRequest(url: WebUri(widget.launcherUrl)),
  initialSettings: options,
  onWebViewCreated: (controller) {
    webViewController = controller;

    // 자바스크립트 핸들러 추가
    controller.addJavaScriptHandler(handlerName: 'BlpLauncher', callback: (message) {
      final data = jsonDecode(message[0]);
      final key = data['type'];

      switch (key) {
        case "closeLauncher":
          closeLauncher();
          break;
        case "launcherLoaded":
          launcherLoaded();
          break;
        case "timerMissionComplete":
          timerMissionComplete();
          break;
        case "giftReceived":
          giftReceived();
          break;

        default:
          break;
      }
    });
  }
)
```

<pre class="language-dart"><code class="lang-dart">// lib/screens/bleepy_screen.dart

<strong>// 런처 종료
</strong>void closeLauncher() {
  Navigator.of(context).pop();
}

// 런처 로드 완료
void closeLauncher() {
  // 런처의 로드가 완료된 후 추가적인 처리 필요 시 사용
}

// 타이머 미션 완료
void closeLauncher() {
  // 타이머 미션 완료 후 추가적인 처리 필요 시 사용
}

// 육성완료
void closeLauncher() {
  // 육성완료 후 추가적인 처리 필요 시 사용
}
</code></pre>

***

## 4단계:  런처 스크린 세로모드 고정 로직 추가

게임은 세로모드 해상도에 최적화 되어 스크린의 세로모드 고정이 필요합니다.

1. <mark style="color:blue;">`service.dart`</mark> 패키지를 추가합니다.&#x20;
2. <mark style="color:blue;">`SystemChrome.setPreferredOrientations`</mark> 메서드를 통해 세로 방향으로 고정합니다.

```dart
// lib/screens/bleepy_screen.dart
// 화면 고정을 위해 상단에 다음 패키지를 추가
import 'package:flutter/services.dart';

@override
Widget build(BuildContext context) {
  // ...

  // 세로 위아래 방향 고정
  SystemChrome.setPreferredOrientations([DeviceOrientation.portraitUp, DeviceOrientation.portraitDown]);
  
  return VisibilityDetector(
    ...
    child: SafeArea(...)
    );
  }
```

***

## 5단계: 화면 전환 설정

### 1. shouldOverrideUrlLoading 사용

<mark style="color:blue;">`inAppWebView`</mark> 에서 제공되는 <mark style="color:blue;">`shouldOverrideUrlLoading`</mark> 를 사용하여 딥링크 정보를 받을 수 있습니다. URI 정보를 받아 Screen 분기 처리를 진행합니다.

* <mark style="color:blue;">`URI`</mark> 정보 - <mark style="color:blue;">`navigationAction.request.url`</mark>
  * <mark style="color:orange;">`scheme`</mark> - 딥링크 스키마
  * <mark style="color:orange;">`host`</mark> - 딥링크 호스트
  * <mark style="color:orange;">`queryParameters`</mark> - 딥링크 쿼리스트링

```dart
// WebView 선언 부분 코드 추가
InAppWebView(
  ...
  shouldOverrideUrlLoading: (controller, navigationAction) async {
    // uri 정보
    var uri = navigationAction.request.url!;
    
    // Deep Link scheme 값으로 조건문 추가
    if (uri.scheme == {scheme}) {
      // Deep Link host 값으로 조건문 추가
      if (uri.host == {host}) {
        // Query string 값을 전달하기 위해 arguments 추가
        Navigator.pushNamed(context, '/{host}', arguments: uri.queryParameters);
        return NavigationActionPolicy.CANCEL;
      }
    }
    return NavigationActionPolicy.ALLOW;
  },
  ...
)
```

{% hint style="info" %}
개발에 대한 추가 설명이 더 필요하신가요?

"[<mark style="color:orange;">\[Client Admin\]</mark>](https://client-admin.bleepy.io/login) 로그인 → 오른쪽 하단 채널톡 위젯" 클릭 후 개발 카테고리에 문의 남겨주시면 기술 개발팀에서 확인 후 연락드리겠습니다.
{% endhint %}


---

# Agent Instructions: Querying This Documentation

If you need additional information that is not directly available in this page, you can query the documentation dynamically by asking a question.

Perform an HTTP GET request on the current page URL with the `ask` query parameter:

```
GET https://bleepy.gitbook.io/bleepy-developers/game-promotion/flutter.md?ask=<question>
```

The question should be specific, self-contained, and written in natural language.
The response will contain a direct answer to the question and relevant excerpts and sources from the documentation.

Use this mechanism when the answer is not explicitly present in the current page, you need clarification or additional context, or you want to retrieve related documentation sections.
